
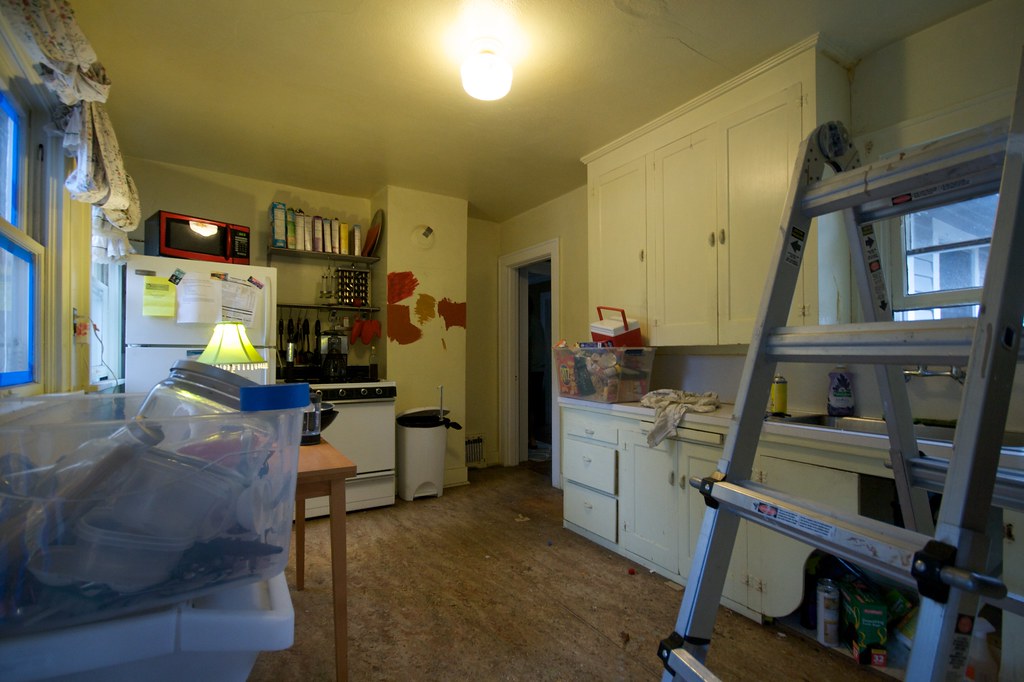
Kitchen soon after moving in, dingy paint, impractical cabinets and linoleum for days, you can see our paint samples on the wall
We painted first (white trim, red walls) and that was followed this winter by the upper and lower cabinets, along with a new sink and (drumroll) a DISHWASHER!!! I don't know how we could have afforded it before Ikea came to town. Even though it took about a month, we saved over $1,000 by installing everything ourselves. This spring, we finally got around to putting in the cabinets above the stove (a used gas stove which we found for $75 on Craigslist) and the microwave/vent/light/hood.
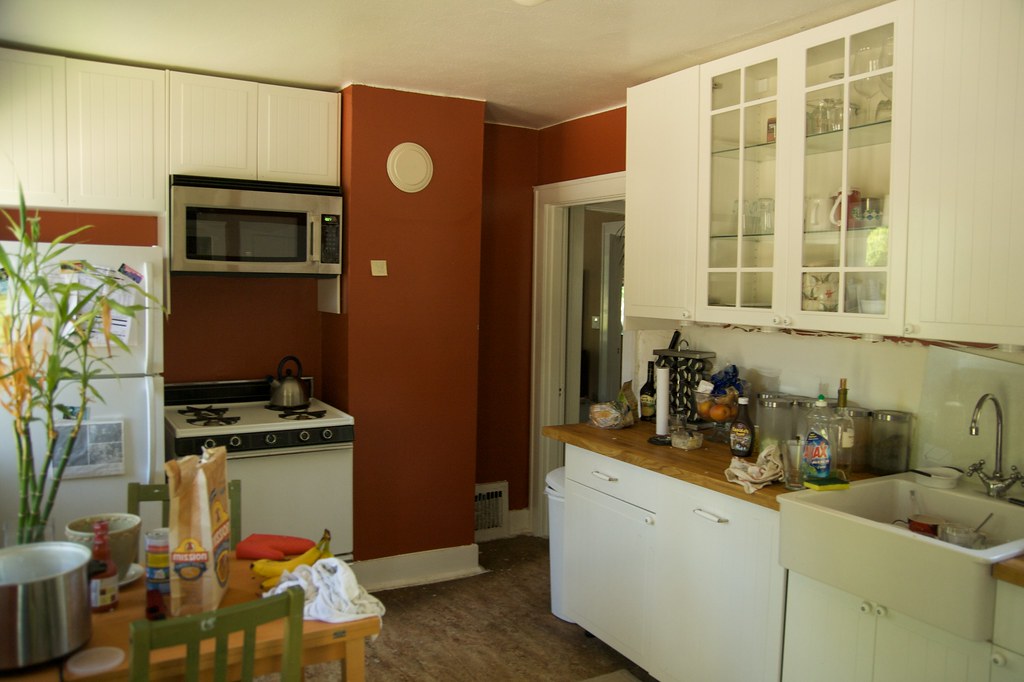
Kitchen this spring, with all the cabinets finally installed!
We have been debating for a while what to do with the floors and backsplash. Honestly, I would like to paint the floors for the time being...anything to cover up the horrible linoleum, but we decided to just bite the bullet and tile everything. We settle on white subway tile for the backsplash and white chicken-wire tile (hex tile) for the floors (with a black border).
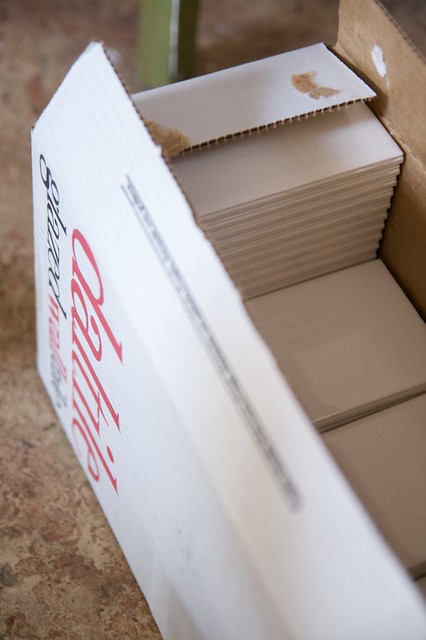
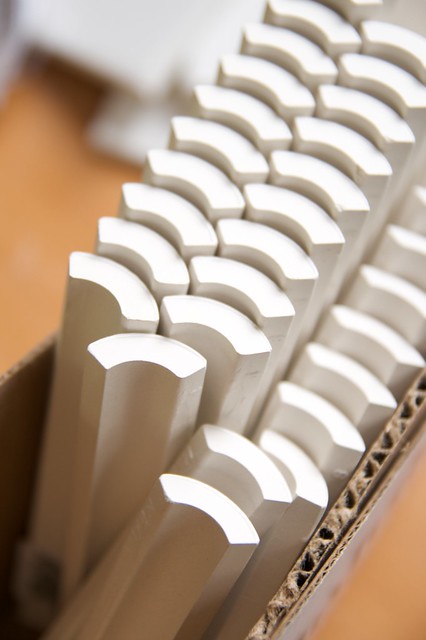
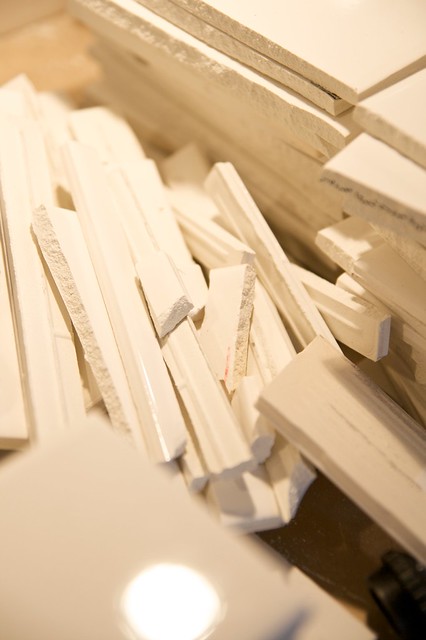
Here is the tile we chose, white 3x6 subway tile and 1x6 trim
The hardest part (as seems to be the case for me most of the time) was trying to figure out the best way to start...we measured things, pre-cut most of the pieces we could and then dove in. Cutting the odd shapes to fit around outlets, the sink and window frames was the hardest part, and we ended up wasting A LOT of tile...I guess that's why you always get more than you think you'll need.

It's true what they say, measure twice, cut once...although we still ended up cutting 4-5 times
Using the cutter looks so easy on all the videos I watched, but was not super-accurate...we had a lot of tiles that were just a little too short or too long...or not quite even.
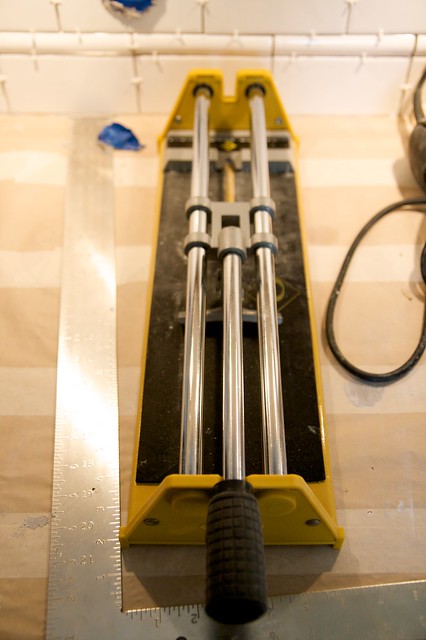
The tile-cutter, my nemesis...and wasted tile pieces. We figured we'd save them for now, however, as they may be the right size for future odd spaces on other parts of the wall.
 | Putting on the thin-set was pretty straight-forward, you slather it on, smooth it out and then use the notched side of the trowel to "score" it...making lots of little groves in the thin-set. Then you basically start putting the tiles in place, using the little plastic spacers to maintain proper, well, spacing! It's kind of tedious when you are working on areas with lots of odd cut-outs and what-not, but once you are on open, bare wall, you can go pretty quickly, which is good, because the thin-set starts to harden pretty quickly...I think you are only supposed to spread out 15' at a time to make sure it doesn't harden before you're done. |
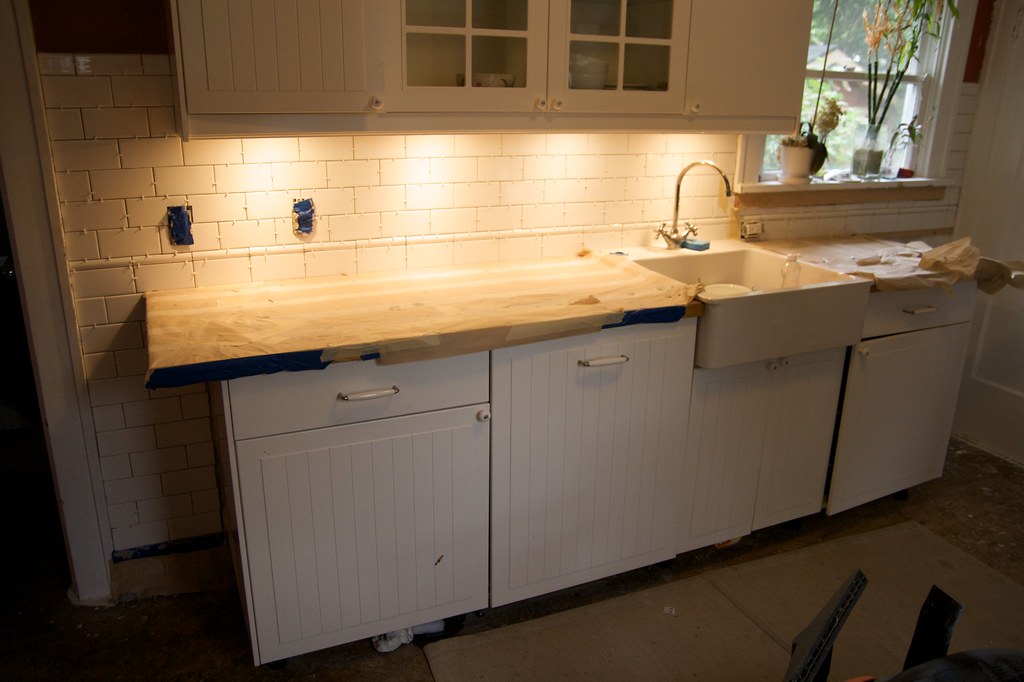
And here we are...VOILA! We still have to mortar them in, but will probably wait until next weekend to do that part...we're thinking of using white mortar. We're a little nervous that dark mortar will just draw attention to any unevenness in spacing :-) After that, we'll do the tiling behind and above the stove and then, finally, we'll address the floor. Whew!
Looks like we had the same 'before' kitchen, only yours is about 3x bigger! And ours is still pretty much the before version, except the one thing we have done is the floor! New chartreuse marmoleum. Love it.
ReplyDeleteThe tile wall is absolutely beautiful, and kudos for tackling it dyi style! So jealous that you got a dishwasher...
Wow, Scott, you are doing a great job! Maybe you could come to my house and do a backsplash????
ReplyDeleteI am looking forward to seeing what you decide for the floor.
What a transformation! I am impressed...and jealous. They say the kitchen and bathroom make the most difference in a remodel, so of course they were the two rooms we pretty much left alone when we did ours. Then again, the other rooms were truly scary before we started.
ReplyDeleteThanks for the complimets, all!
ReplyDeleteDanger: I LOVE your marmoleum...chartreuse is one of my favorite colors. I tried to convince my partner a while ago that it would be nice (not to mention practical and durable) for our kitchen...but he was pretty set on tile (not that I mind). Love how yours came out...and I think the charcoal in the bathroom is awesome...that's the color I would have used in our kitchen, had we gone with marmoleum.
Zoey: Thanks! I think we are good enough for our own house...but I'd be terrified to do someone else's!
Ricki: I don't blame you...you really have to triage when it comes to projects and tackle the ones you REALLY can't live with first!
Ooh, I love before and after photos. Nicely done!
ReplyDeleteThat is turning out fantastic, Scott. That white tile will sure neaten up the kitchen and bring in lots of light. Good luck with the grouting. I'm sure you'll do well. Have a great Labor Day weekend! (Don't labor too much, though. ;-D )
ReplyDeleteIt really looks great, can't wait to see the finished project. :) I love that color you chose for the walls, the cabinets and trimwork really pop against it.
ReplyDelete